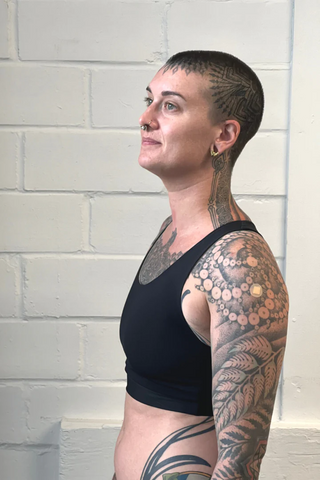
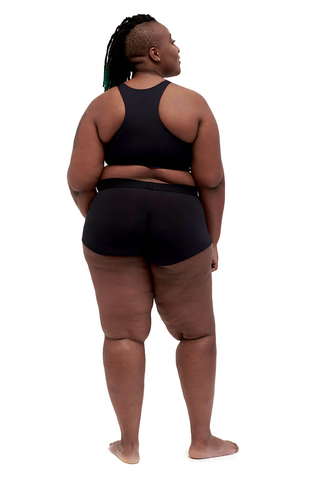
Even if it’s not your first time buying a binder, this will help you to choose the best style choice based on your binding needs.
Binders are technical garments. When choosing a style, there are few things to remember.
- Not all binders will compress the same way. Take a look at the list below for your ideal compression level!
- All of these binders are made with only stretch materials. This is so they are more comfortable and allow for more flexibility and breathing room. But this also means that there is a limit to how flat they can compress the chest.
- The more chest tissue a person has, the less the binder can create a completely flat front.
- If you have larger shoulders, we suggest a side-open style to make sure you can get it on and off easily.
- If the difference between your chest and your ribs is 9 inches or more, we highly suggest a side-open style to make sure that the binder can be tight enough around your rib cage. (Example: Chest 39 inches, Ribs 30 inches) {*These are available through Origami's website!}
Where/How to Measure for Binder;
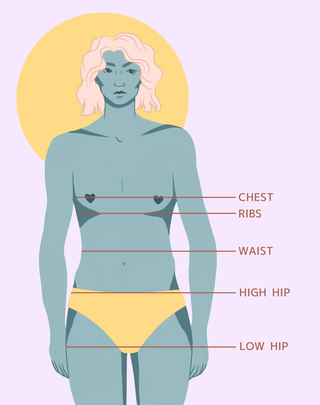
Chest, ribs, waist (measure unclothed)
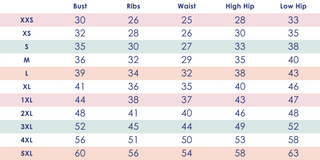
Compare your measurements with the size chart in this products' pictures.
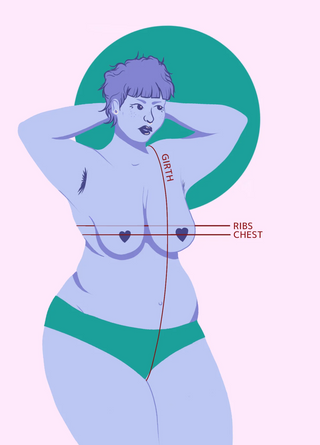
Girth: Measure from one shoulder, around the body vertically, through the legs and back to the same shoulder. Make sure you are standing tall. If your measuring tape is not long enough, you can use a piece of string and then measure that.
Chest/Bust: Measure around the fullest part of the chest, with arms relaxed down at sides and without a bra. Keep the measuring tape parallel to the floor. Keep the tape comfortably snug but not tight, which will include measuring the space between the chest tissue. Do not squeeze the chest tissue flat.
Ribs/Underbust: Around your ribcage where a bra band sits. Measure on the exhale.
Waist: Measure around natural waistline, which appears as a crease when bending to one side.


